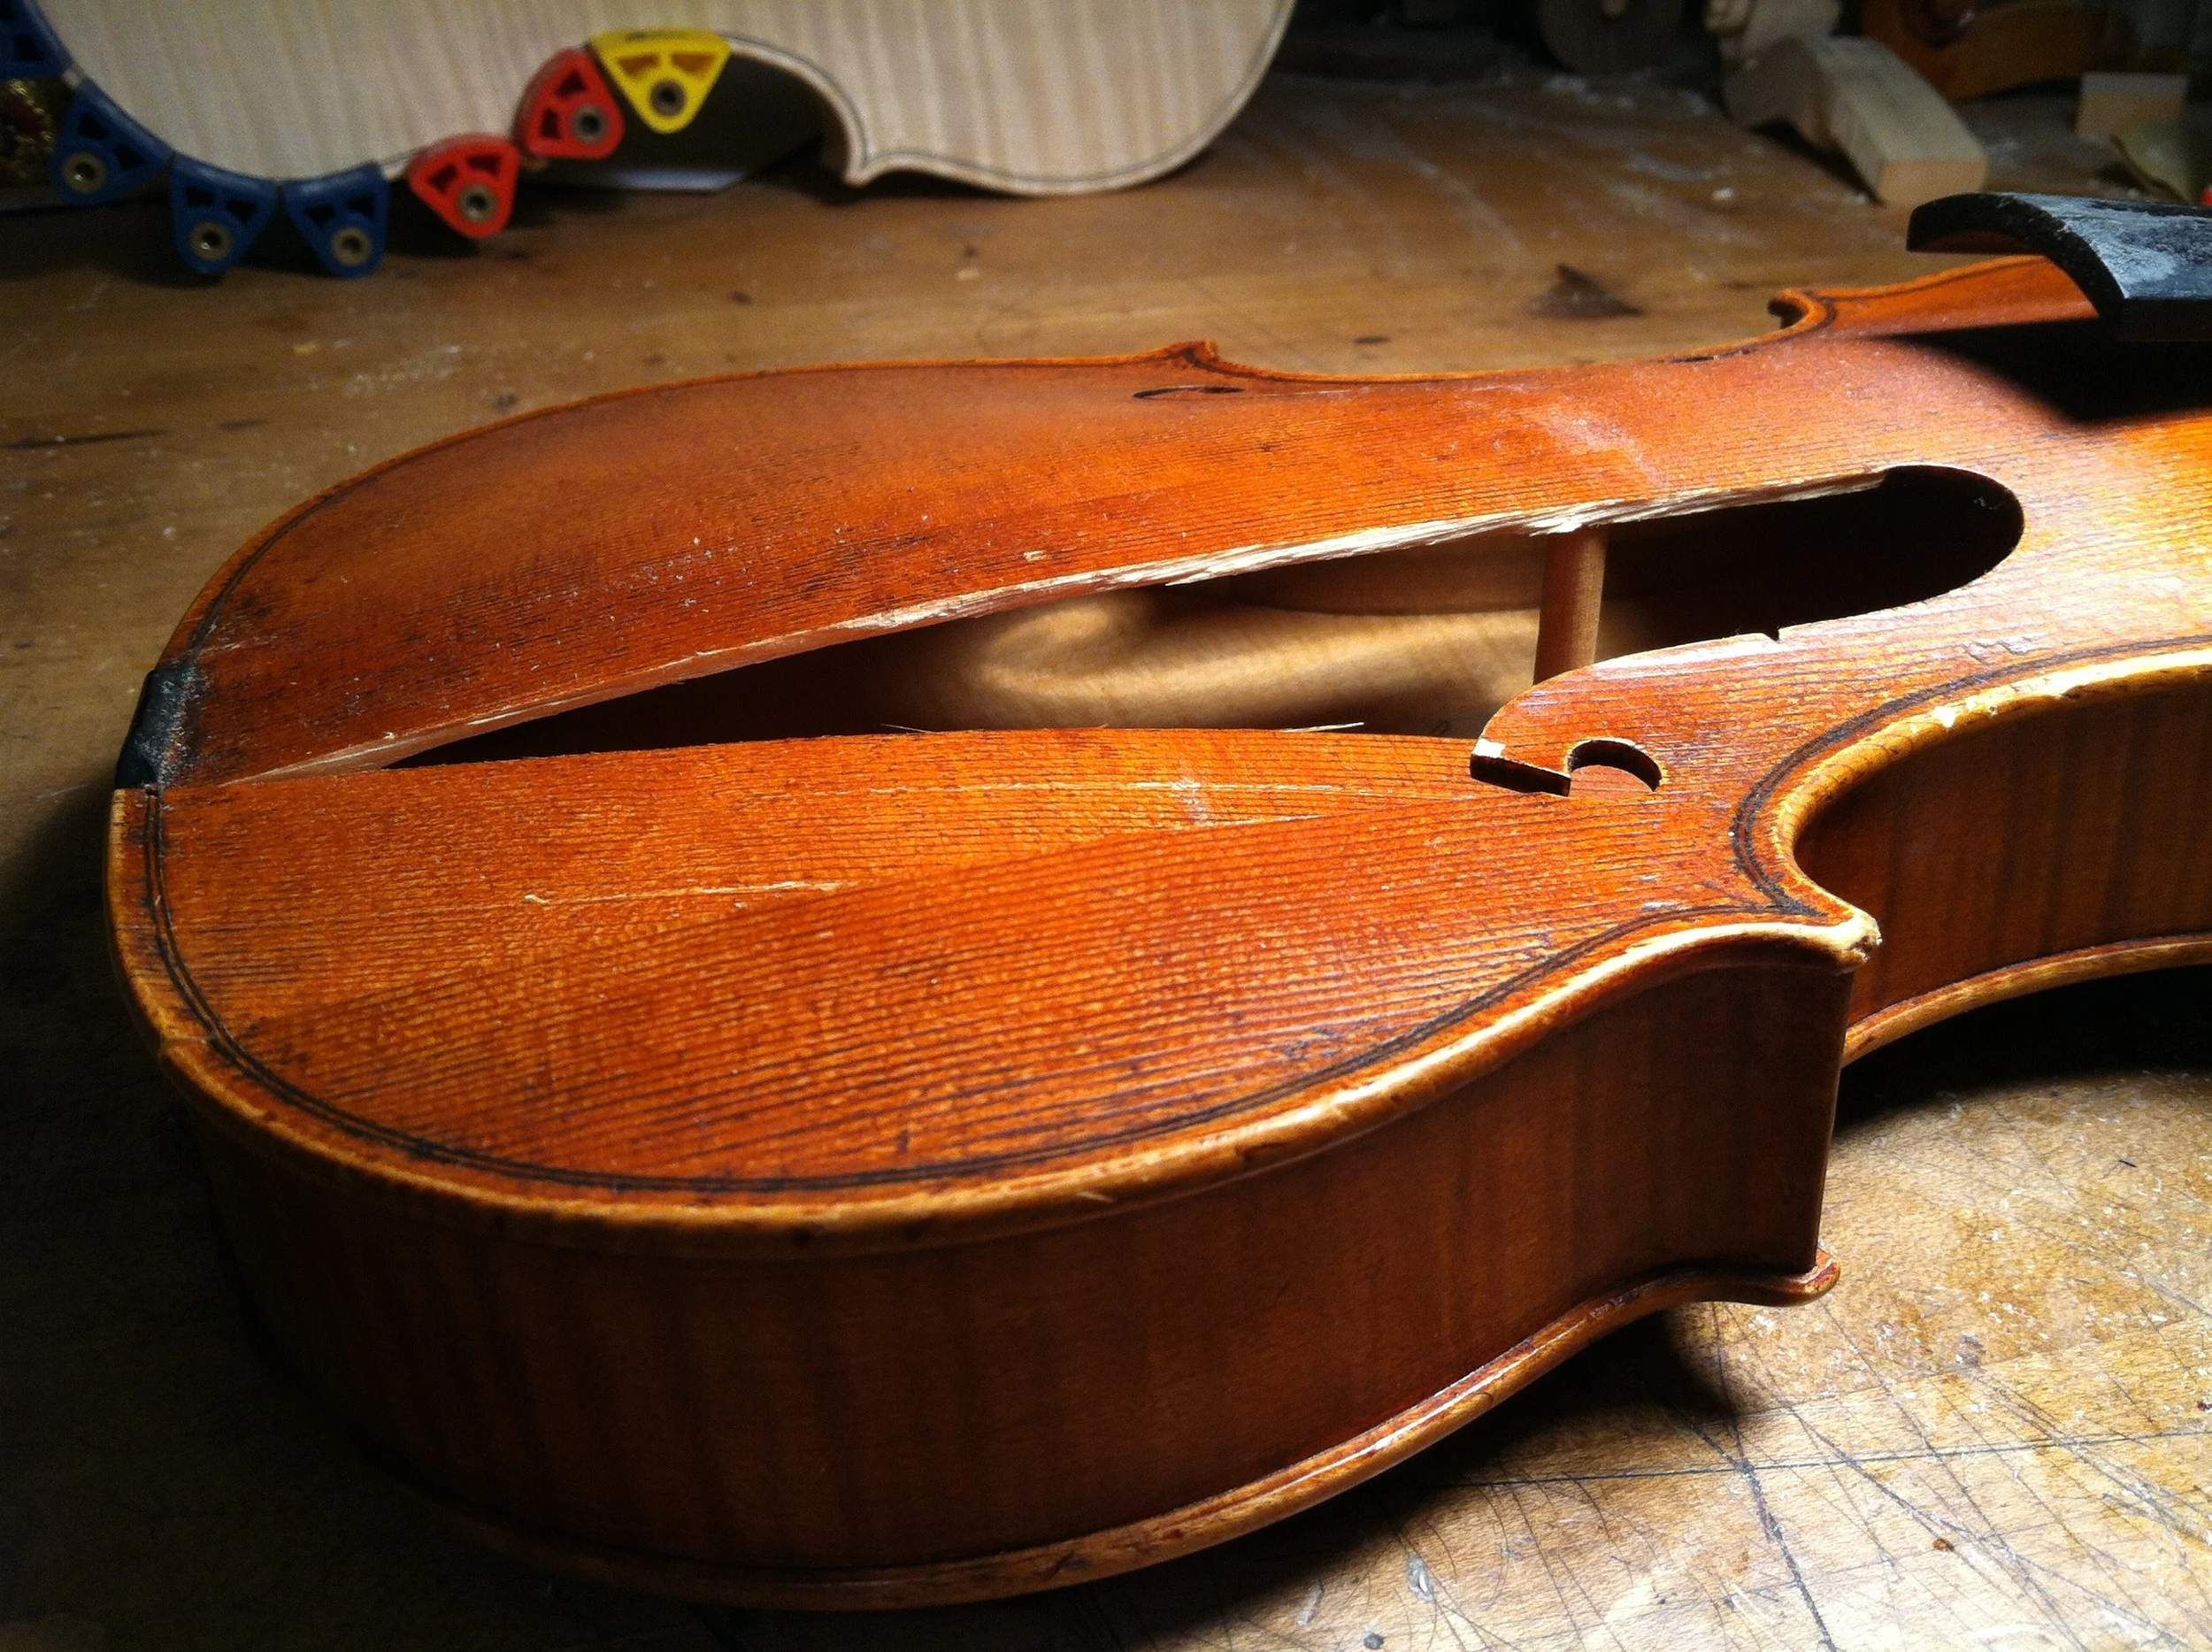
These are some photos of a repair project on a beautiful violin made by Viseltear and Young that I completed recently. As you can see the, the front was pretty badly damaged

The broken piece had to be removed and the cracks repaired. The little blocks glued to the inside here are for holding the crack together whilst the glue is drying


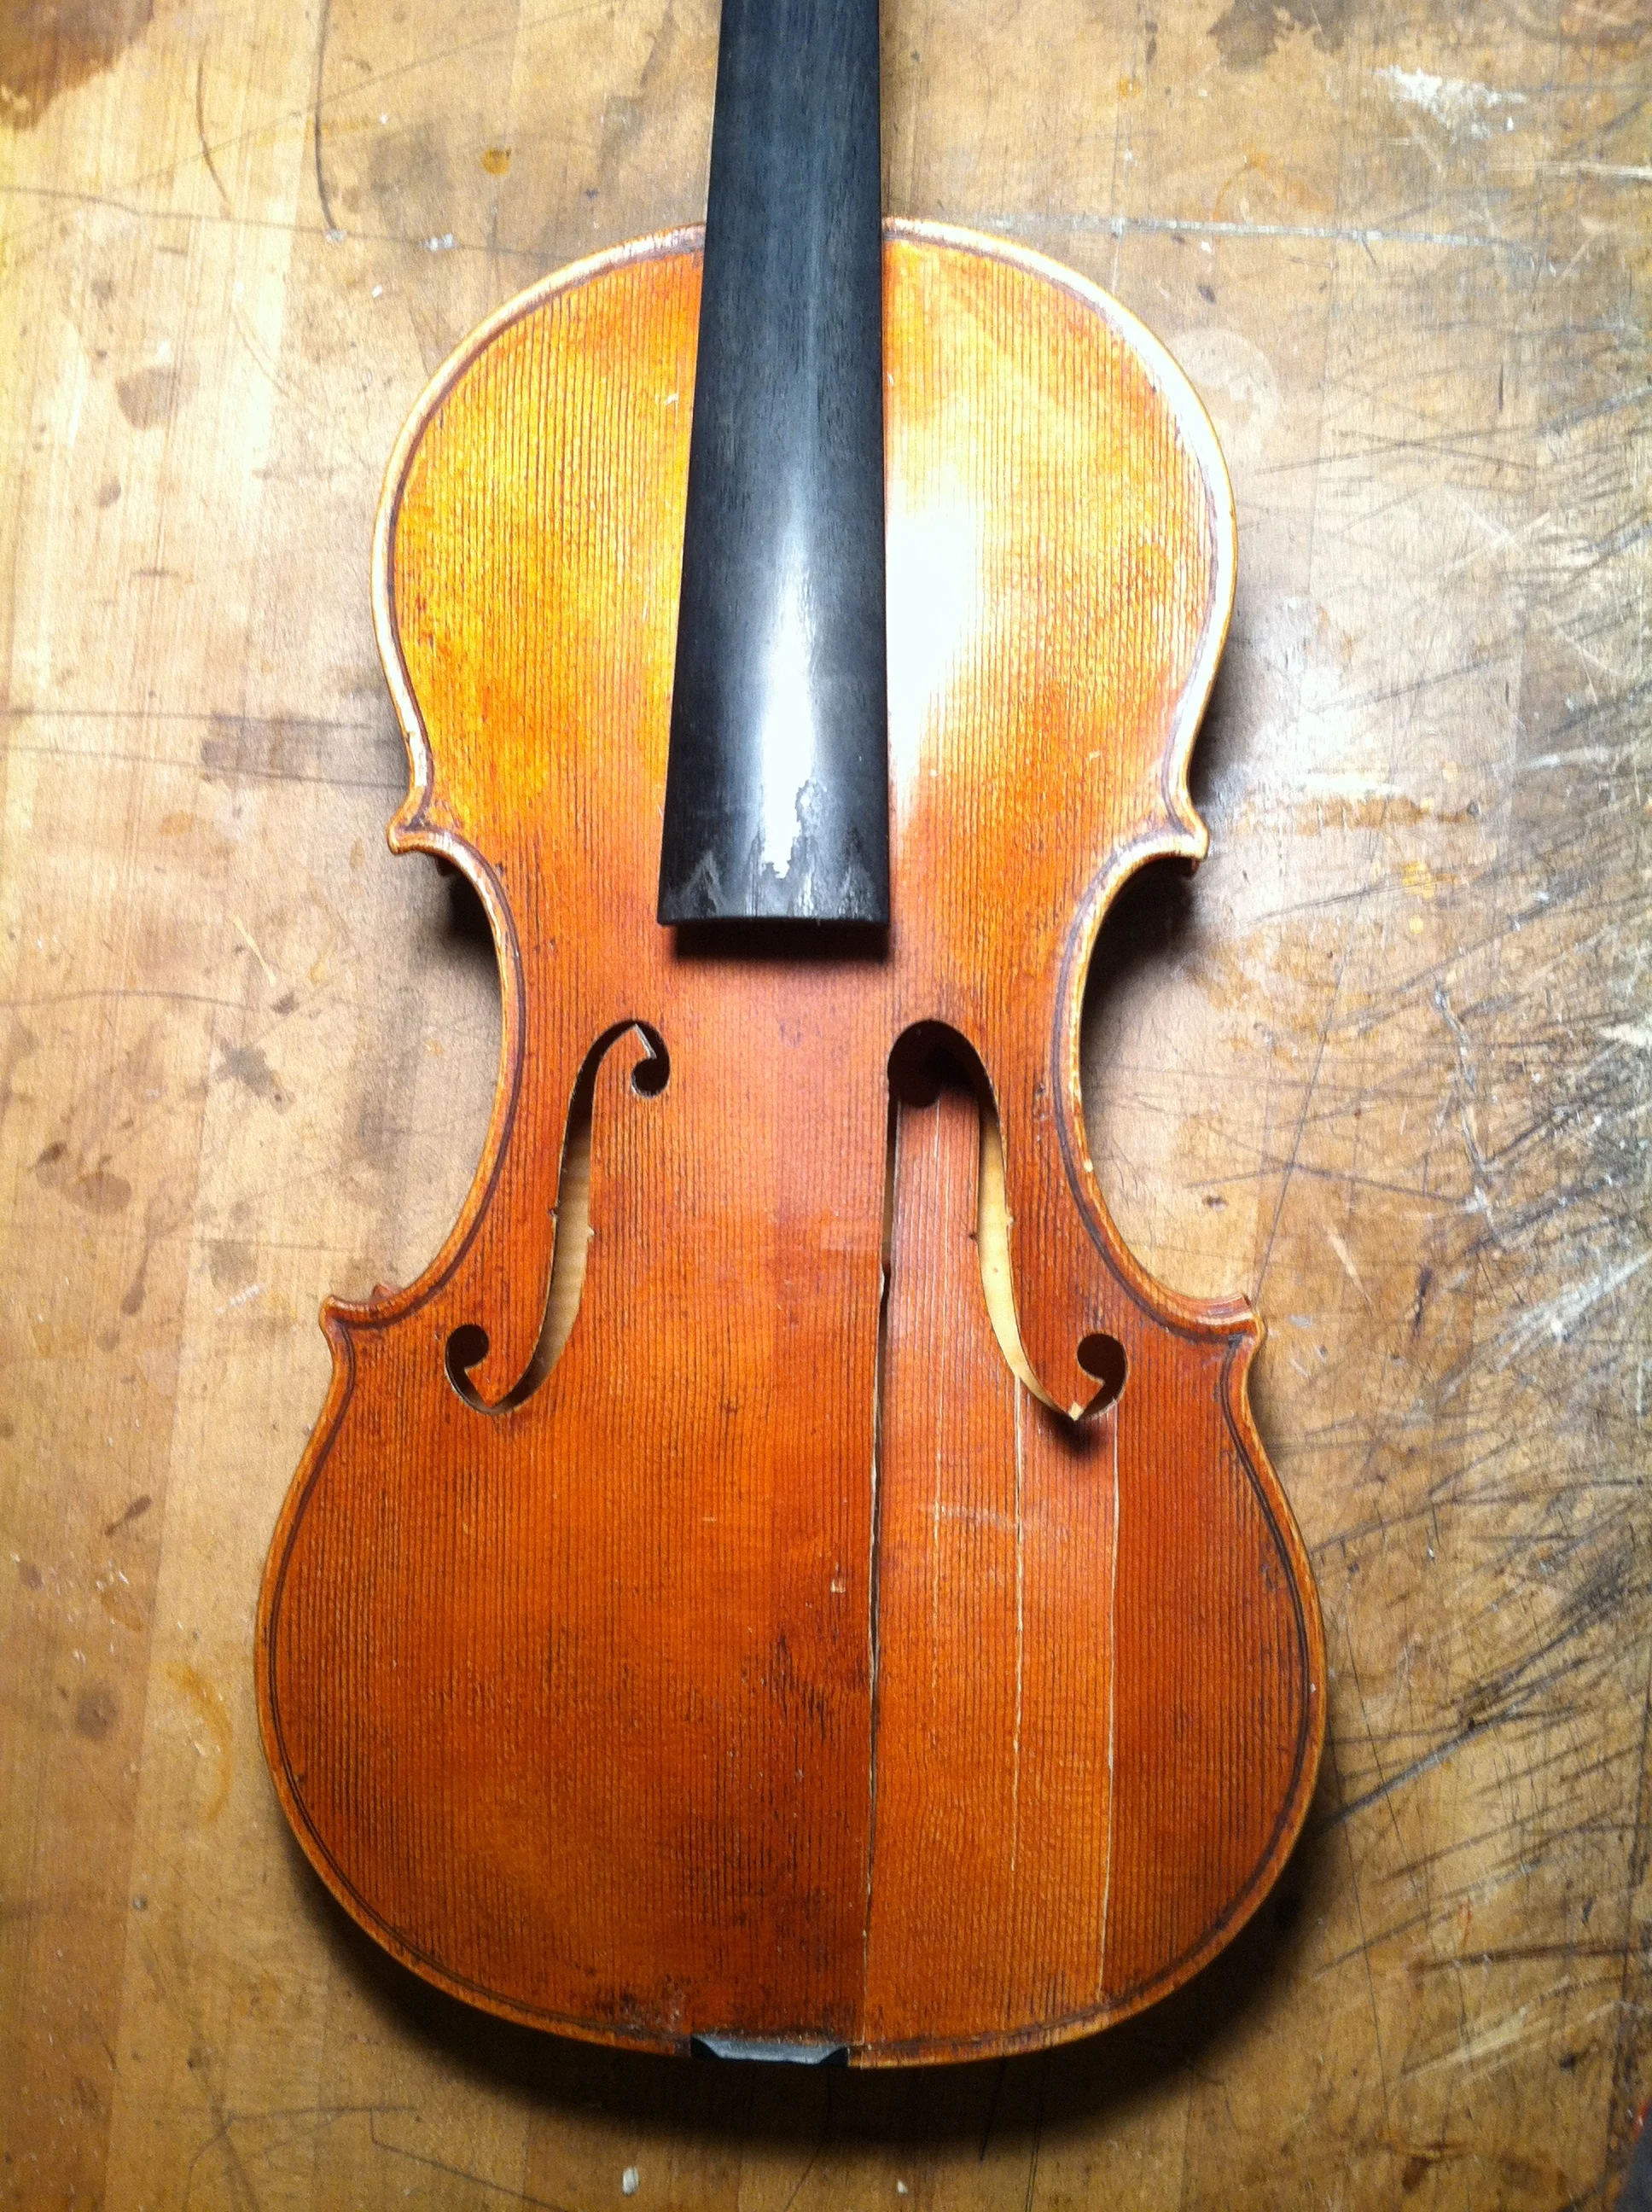
Once those cracks were repaired, the piece could be glued back into the front again

This shows the supporting studs glued to the inside to hold everything together. I also had to fit a soundpost patch to provide added support in that area once the instrument was setup. These studs and the patch are paired right back so that they are not so thick as to radically alter he sound, but still provide enough support to hold the cracks together
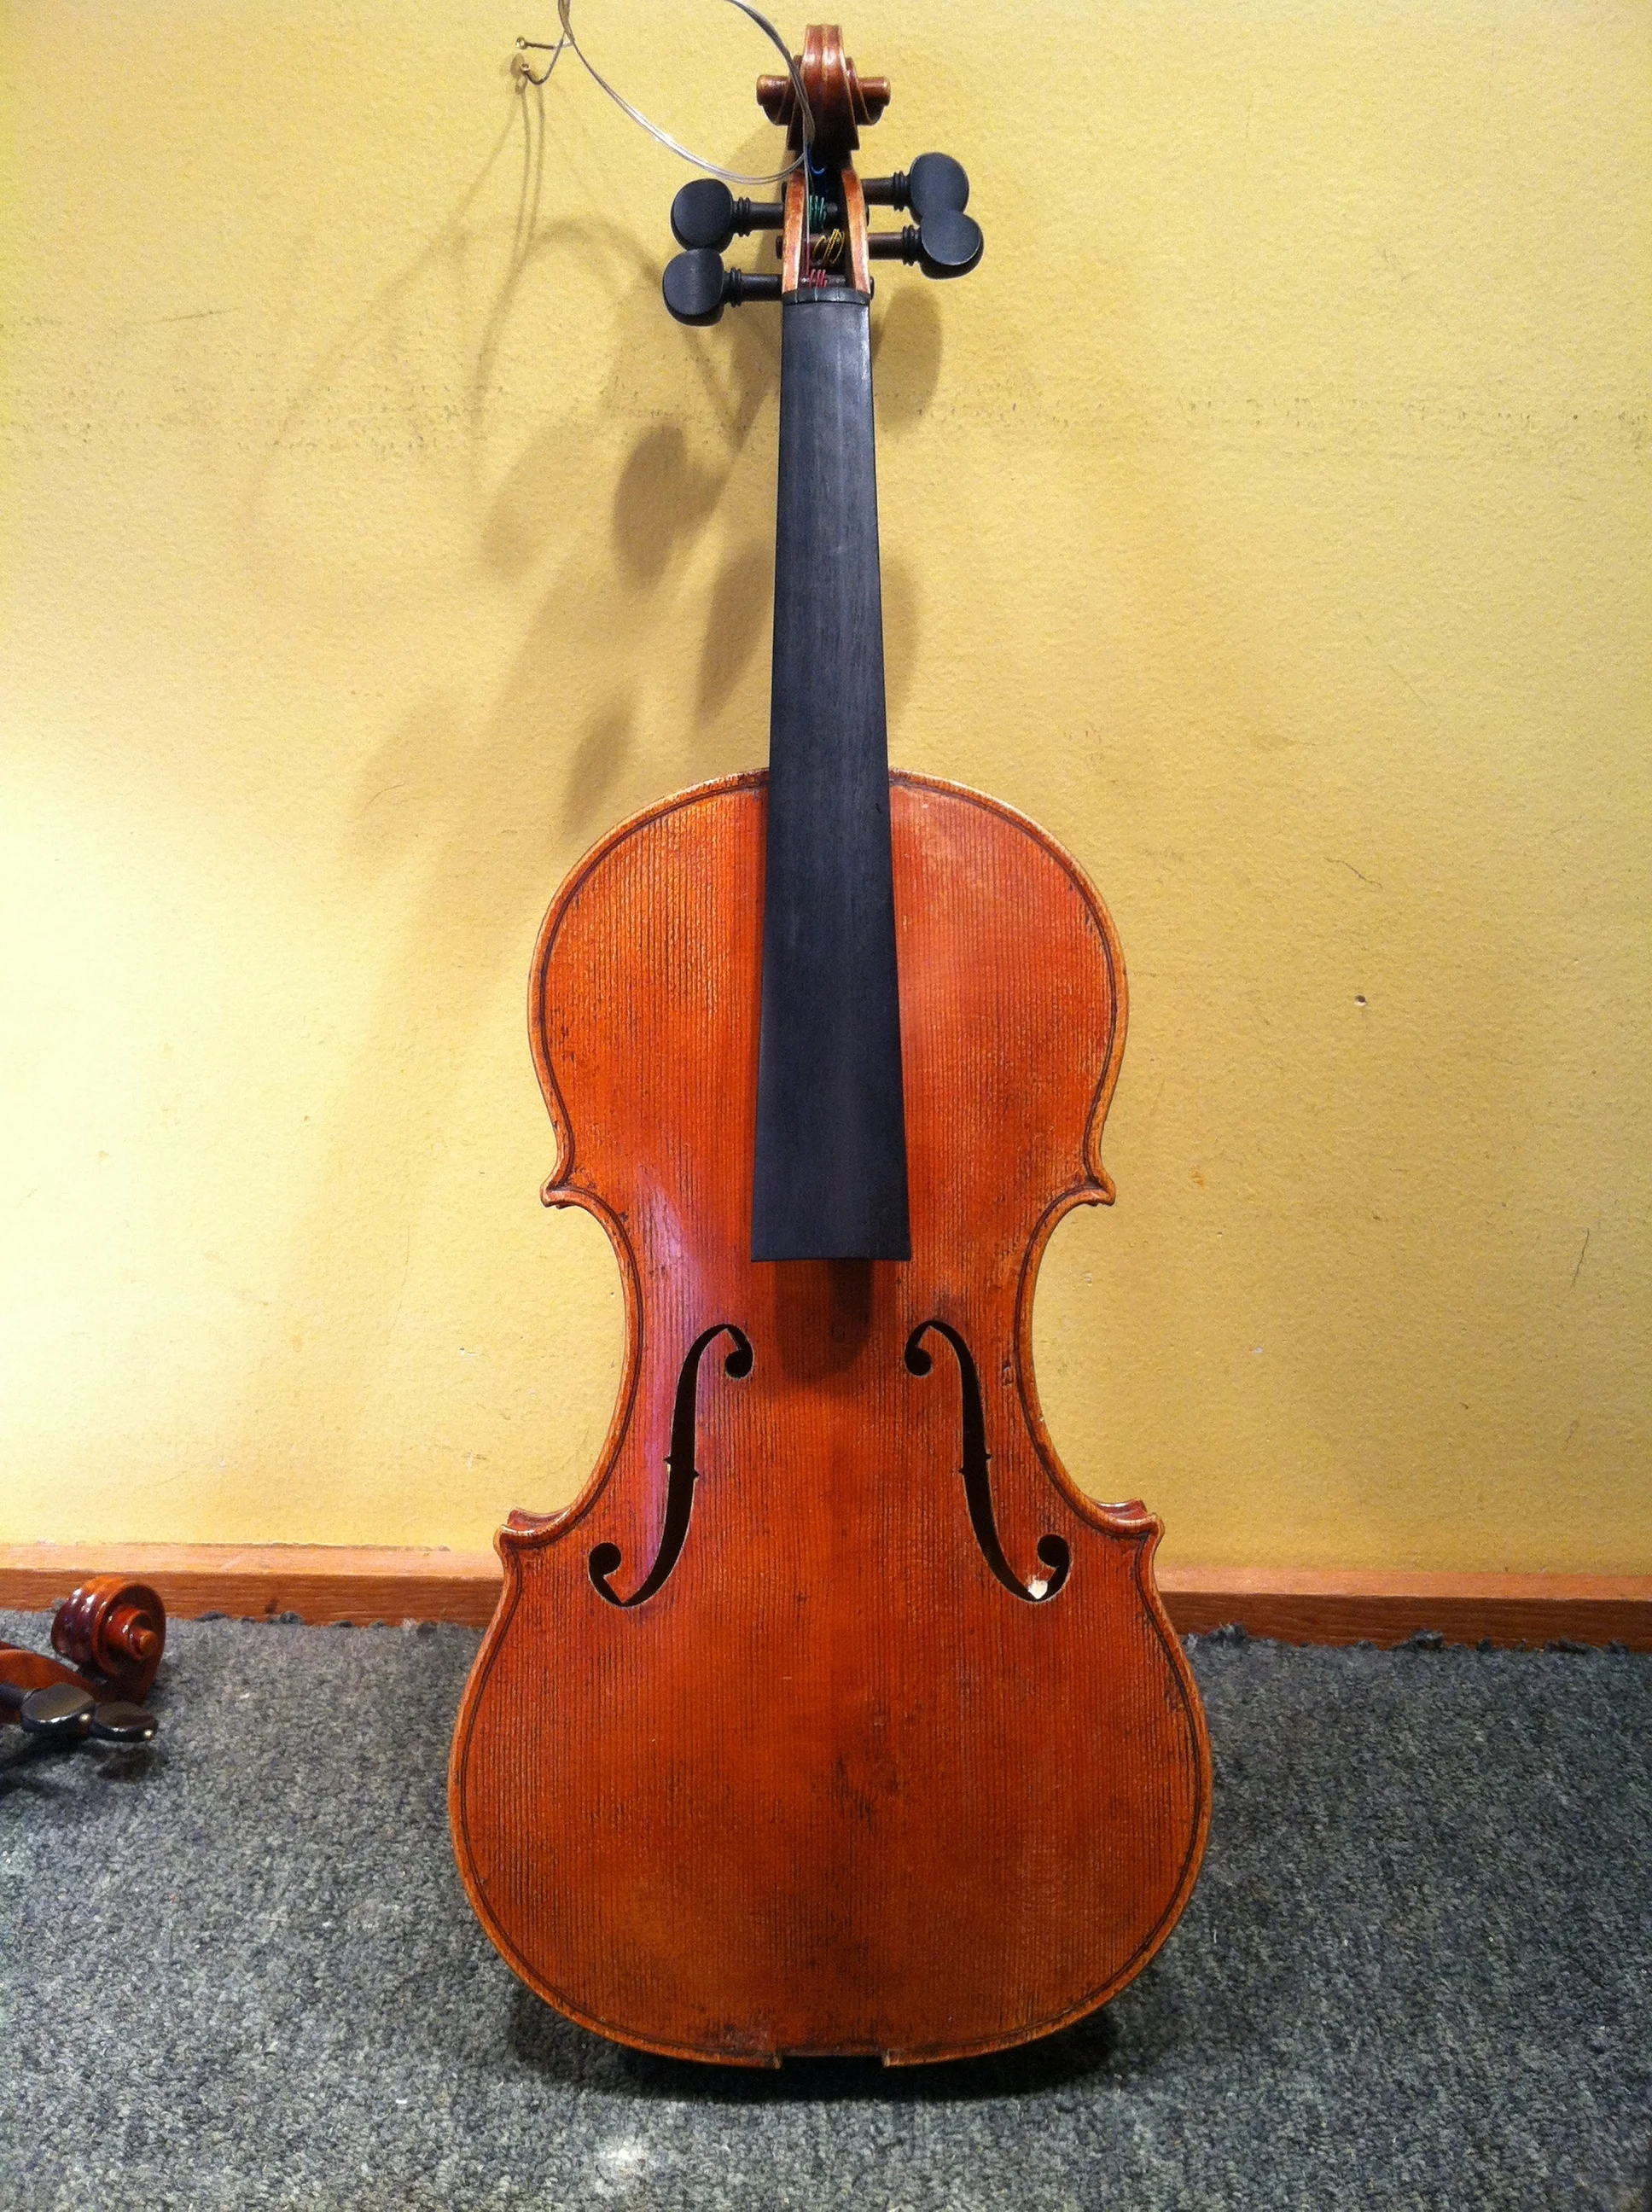
Front back on. Suprisingly, the only piece that was missing was a tiny bit of wood from the lower wing of the f hole, so had to add a piece there

Then only the varnish work to do.....

.....and the setup!
